
Installing windows can be a frustrating and time consuming task during a residential or commercial construction, but with the right tools and techniques, it becomes a much smoother process. One tool that can significantly simplify window installation is the JAMSET® PRO. This innovative tool helps ensure precise positioning and levelling of windows, resulting in effective and efficient installation. In this guide, we will walk you through the steps to effectively use the JAMSET® PRO for window installation.

Step 1: Position the packers
Install the level and plumb window packers to the sill and one understud to the building code spacing requirements. These packers will help you to be efficient as possible during this process.

Step 2: Place the window in the opening
Carefully lift the window and place. Ensure that the window is onto and pushed against the prepared window packers.

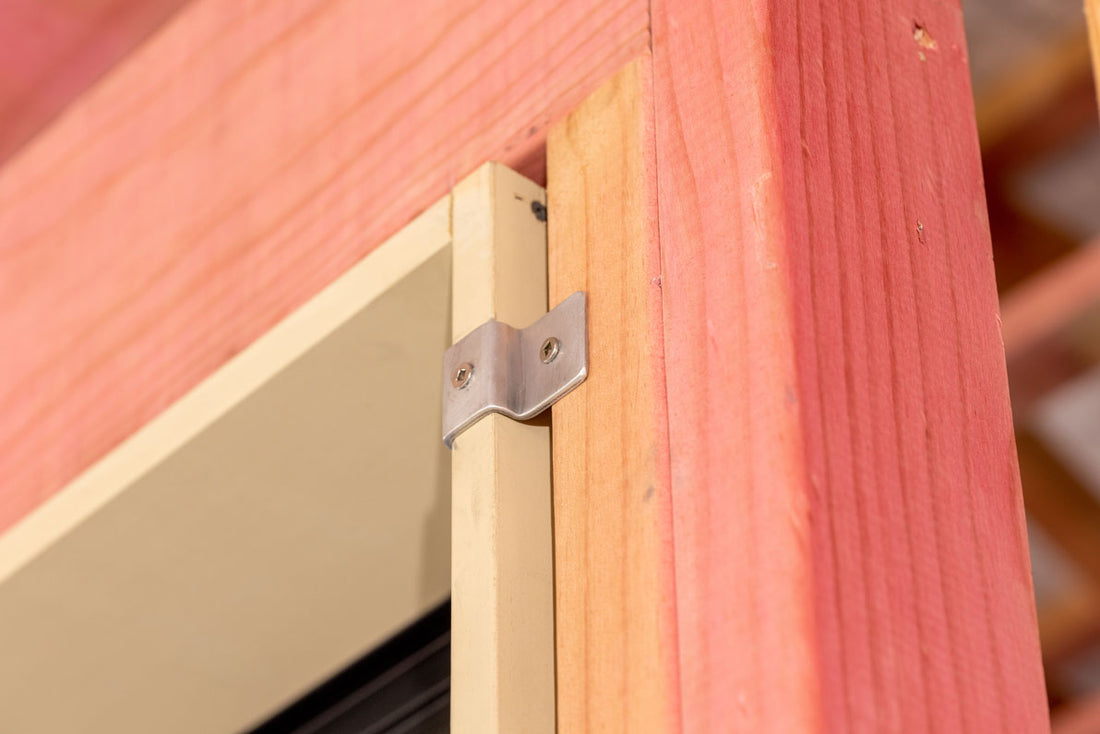
Step 3: Secure the JAMSET® PRO
Using the appropriate screws, attach the JAMSET® PRO to the window liner/jamb next to the understud packers on both sides of the window. Make sure the JAMSET® PRO is securely fastened, as it will play a crucial role in maintaining the window's position during installation.
TIP -we like to get the joinery truck off site quick as possible therefore we just screw the JAMSET® PRO onto the top left and right liner/jamb then move onto next piece of joinery!

Step 4: Set the Jam
Gently push the window outwards until the JAMSET® PRO tap touches the understud this giving you perfect alignment for 10mm linings. The JAMSET® PRO will help you maintain the desired position of the window while you set the jam.

Step 5: Secure the Window
Once you have confirmed that the window is where you require it, you can proceed to secure it in place. Use appropriate screws to attach the JAMSET® PRO framing/understud on both sides. Double-check the alignment and positioning before fully tightening the screws.

Step 6: Finish Nailing the Liner/jamb
With the window securely in place, you are free to carry on with other building tasks until time to nail/screw off windows. (We like to save fixing off windows for a wet day)
Then nail/screw off to build code requirements.

Step 7: Remove the JAMSET® PRO
The final step is to carefully remove the JAMSET® PRO from both sides of the window. Remember that the JAMSET® PRO is reusable, so you can keep it for your next window installation project.
Installing windows with the JAMSET® PRO tool significantly simplifies the process and ensures a precise and professional outcome. With the JAMSET® PRO, your window installation projects can be smoother and more efficient than ever before.
If you have a question email us at enquiries@jamsetpro.co.nz. Ready to try them for yourself? SHOP NOW